How to Make Homemade Crayons
It was time to clean out our container of crayons. All of the little broken pieces were driving me crazy, and my kids were tired of their crayons not being very sharp. So we sifted through and picked out all of the duds – collecting them in a Ziploc® bag – and replacing them with a fresh batch of our favorite Crayolas!
It didn’t feel right to just toss all of the broken crayons in the trash. I felt like we should use them in some way – but I didn’t want to get in to sharpening all of them. (I don’t even think we own a crayon sharpener. ha!) So, I decided to try an idea I had seen shared online over and over again!

Get our THIS LITTLE HOME OF MINE nEWSLETTER
Delivered directly to your inbox!
We were going to make homemade crayons!
I Googled how to make crayons, and we got started!
I gathered together a few different things around the house:
- a couple of different silicone molds I had found at a yard sale
- a baking sheet
- a can of Coconut Oil Spray (You can use whatever spray oil you have around your house!)
- and, of course, our crayons

Next, we started peeling…
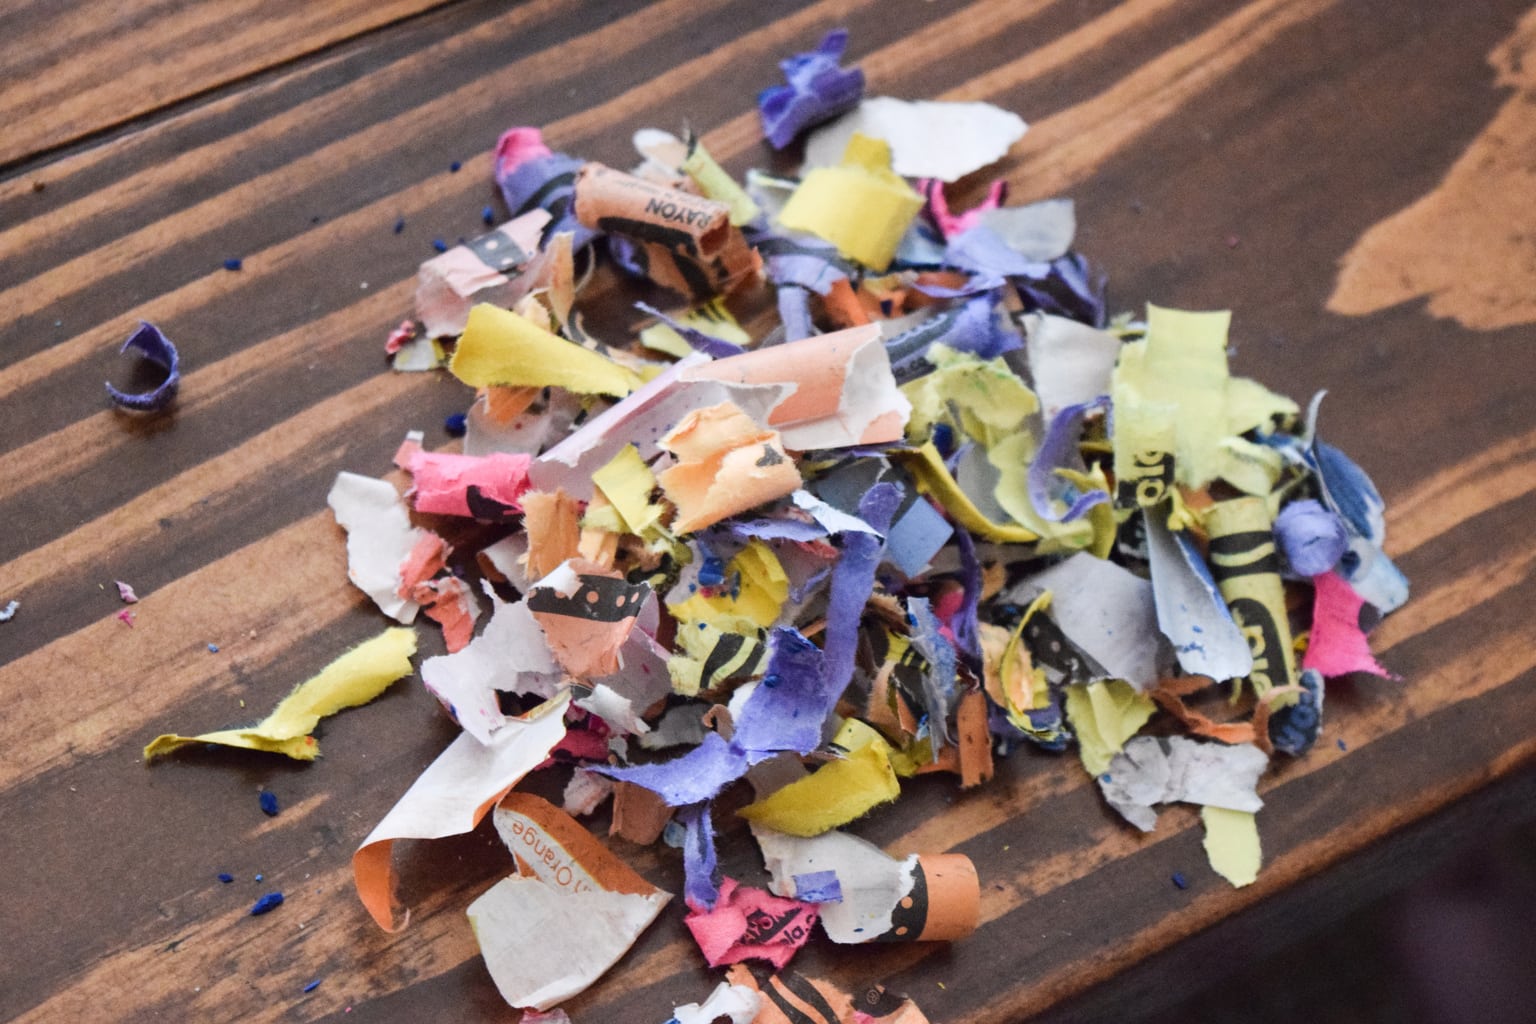
and peeling…
and peeling. It took some time, but working as a team seemed to be the best approach.
Everyone was tearing off paper, and I decided we’d just wait ’til the end to clean up the mess. ha!
If you wanted to throw in a teaching lesson for your little ones, you could always use the crayons to learn colors, counting, addition and subtraction!
You can also use these crayons for a sorting activity. This can help if you’re wanting to do themed crayons! Like greens for St. Patrick’s Day, red and pink for Valentine’s Day or even red, white and blue for the 4th of July!
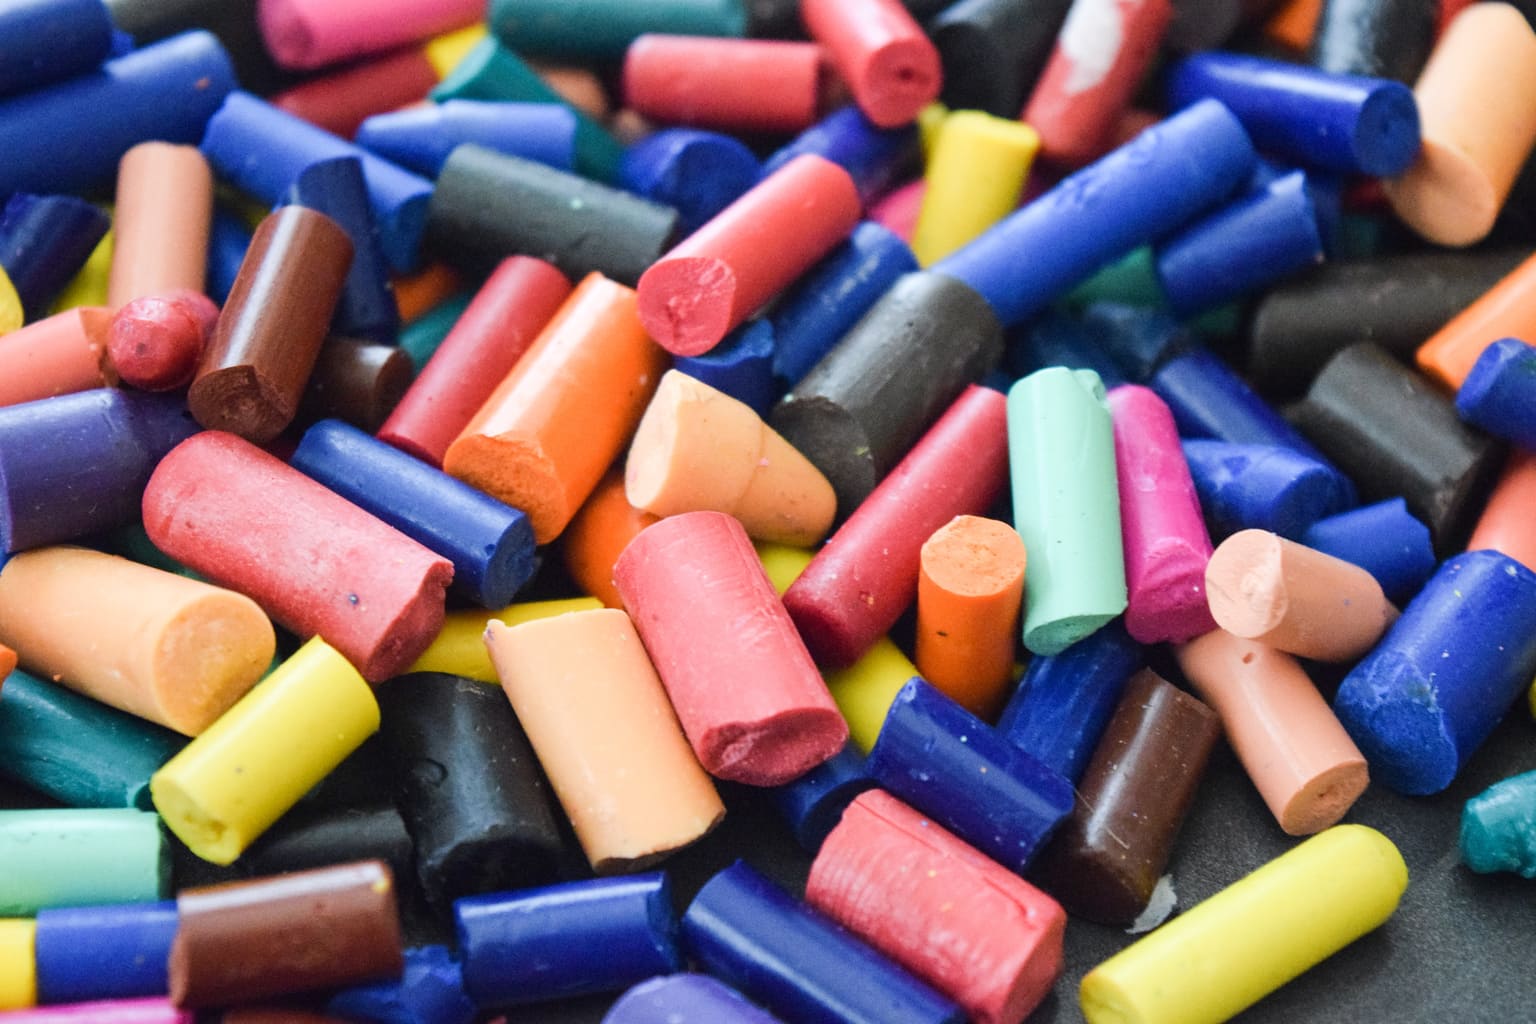
Next, we sprayed the silicone trays with the coconut oil spray (Is that what you use? Or is there a better idea out there?). Then, we began breaking the larger pieces of crayon into sizes that would fit into our molds.
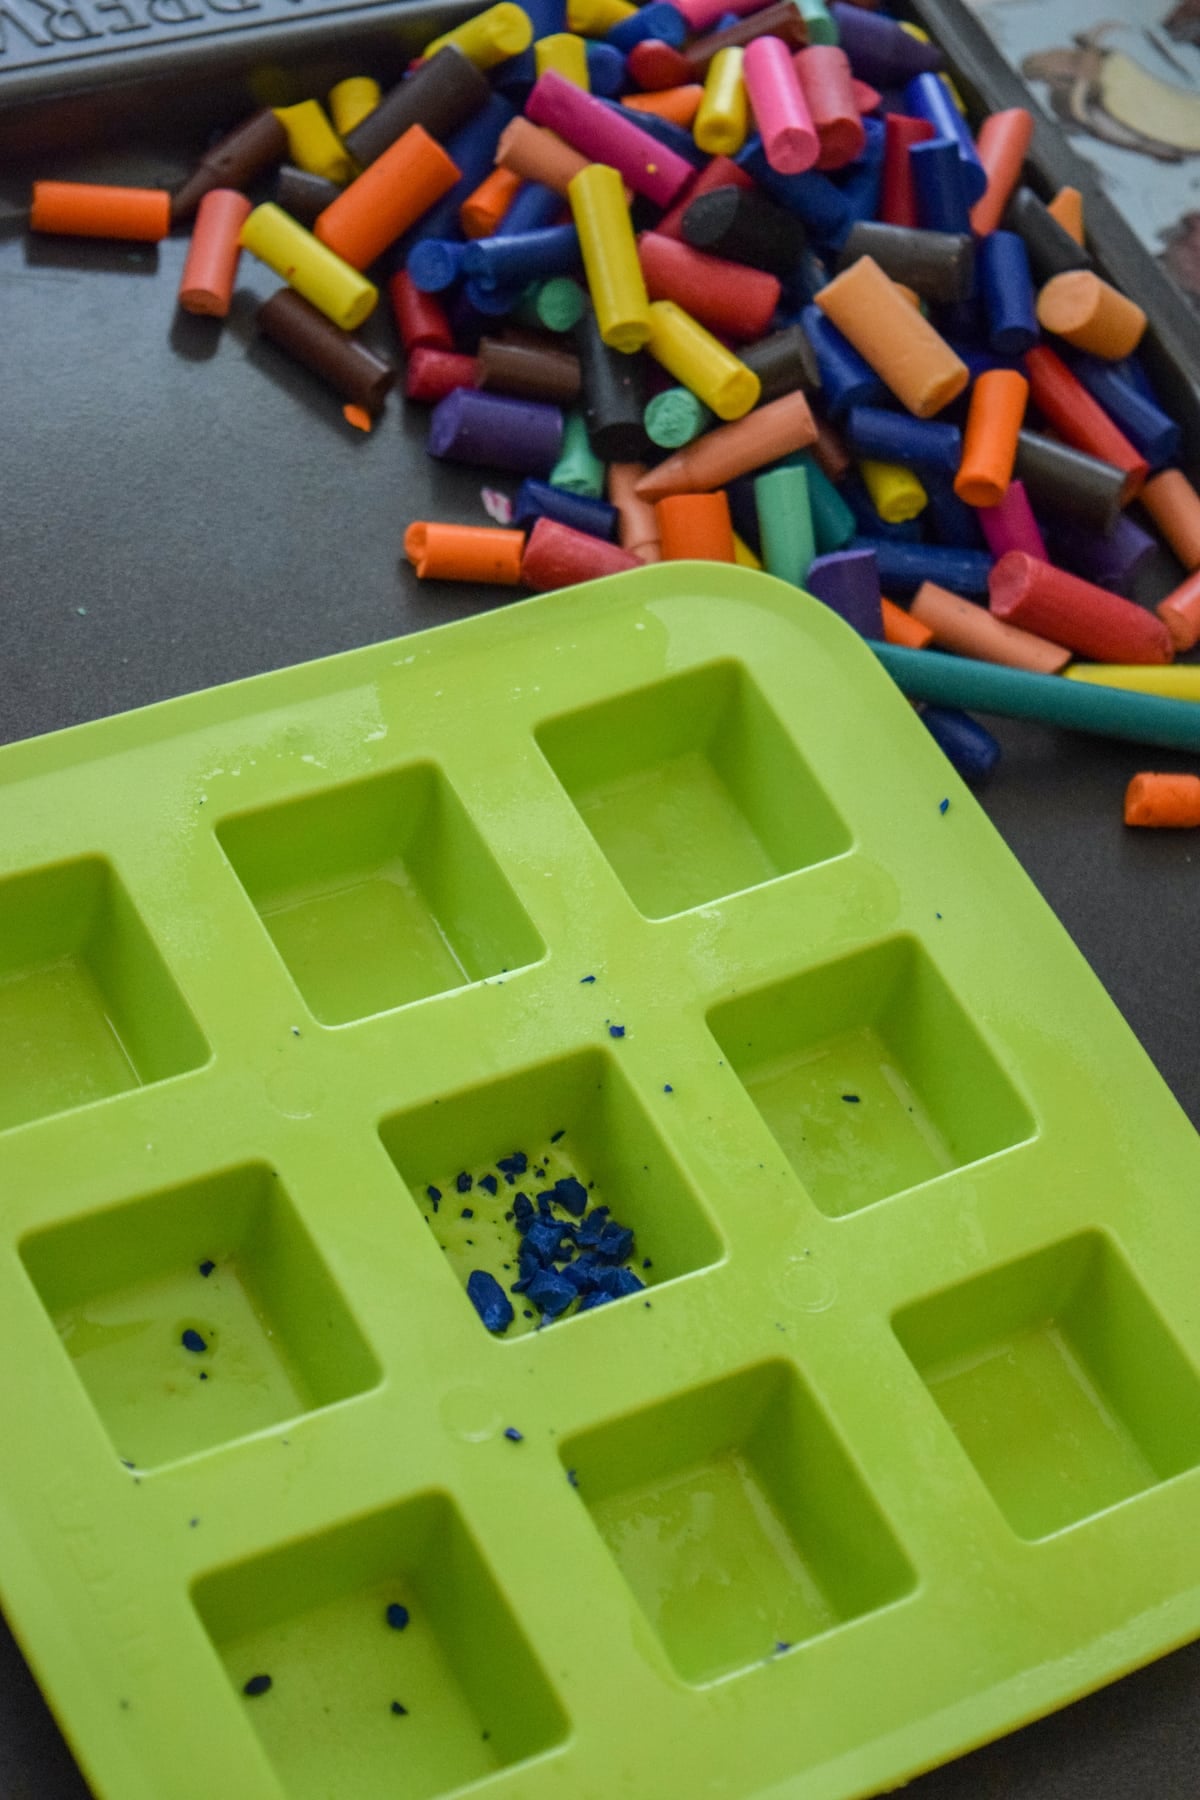
We decided not to crumble them, though you may have some crumbles on hand like we did.

We began filling up the spaces in our molds…

…then into the oven they went!

Our oven was preheated to 275° degrees, and we baked our crayons for approximately 15-20 minutes. There are lots of different recommendations out there, so definitely consider your oven, your molds, etc.
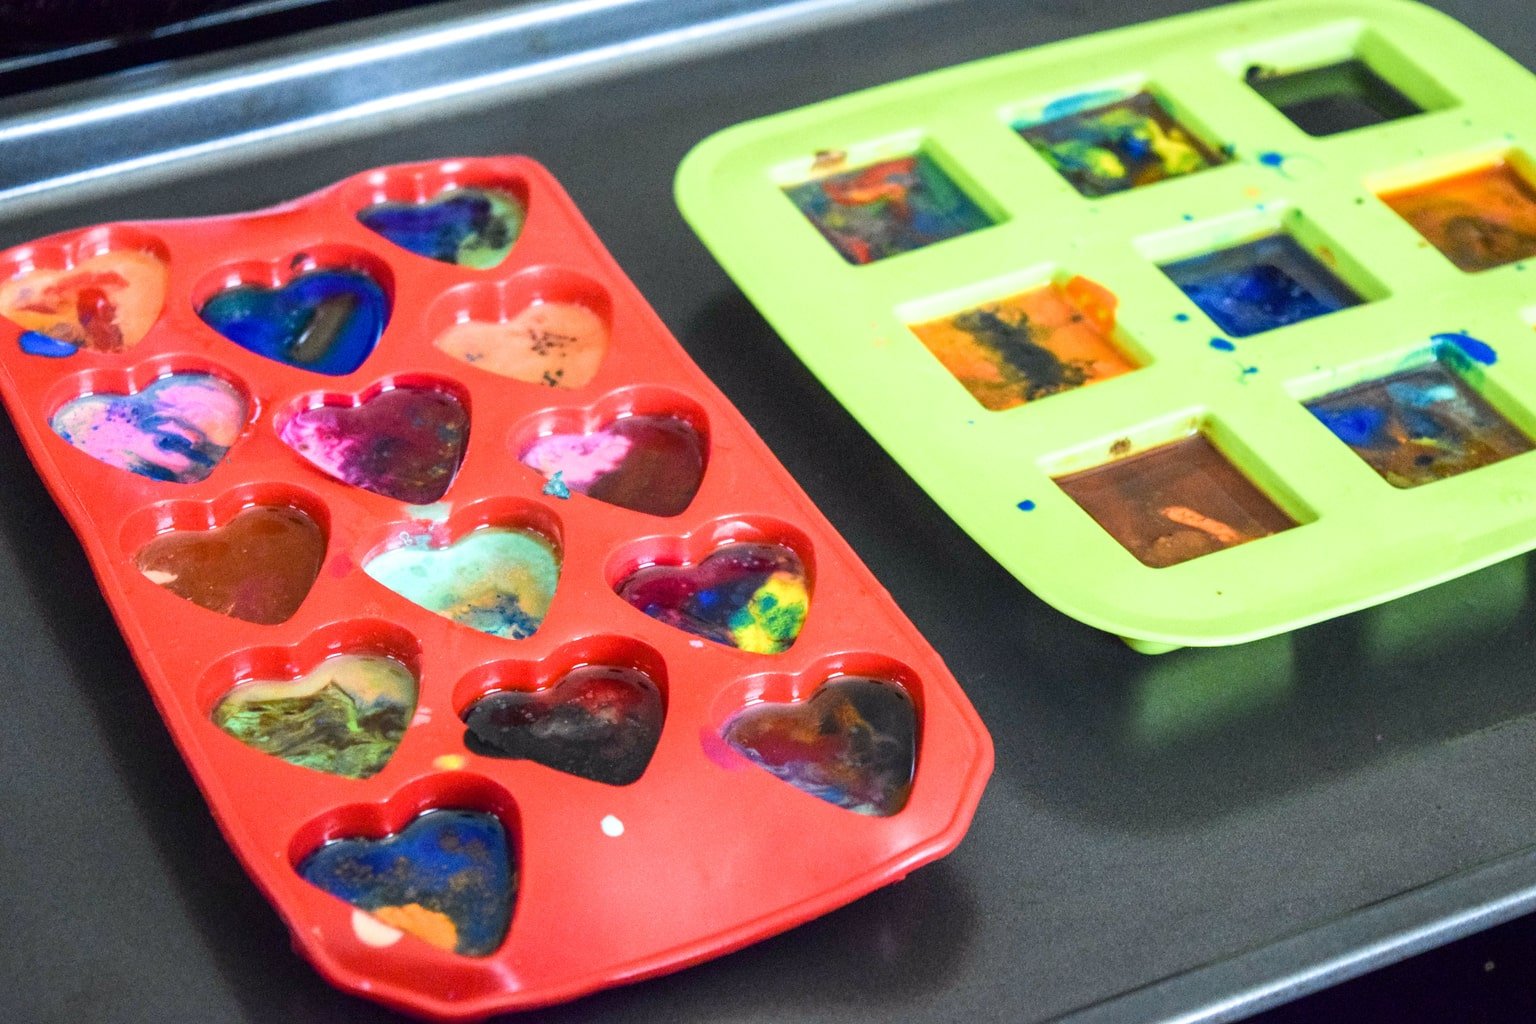
After 15-20 minutes, our crayons had melted into these beautiful swirls of color…
…and we couldn’t wait to take them out of the oven!

We made sure to let the molds cool, but once they did, we popped out our crayons. The hearts were my favorite (Wouldn’t they make the sweetest little Valentine’s Day gift?),

but the squares were cool, too!
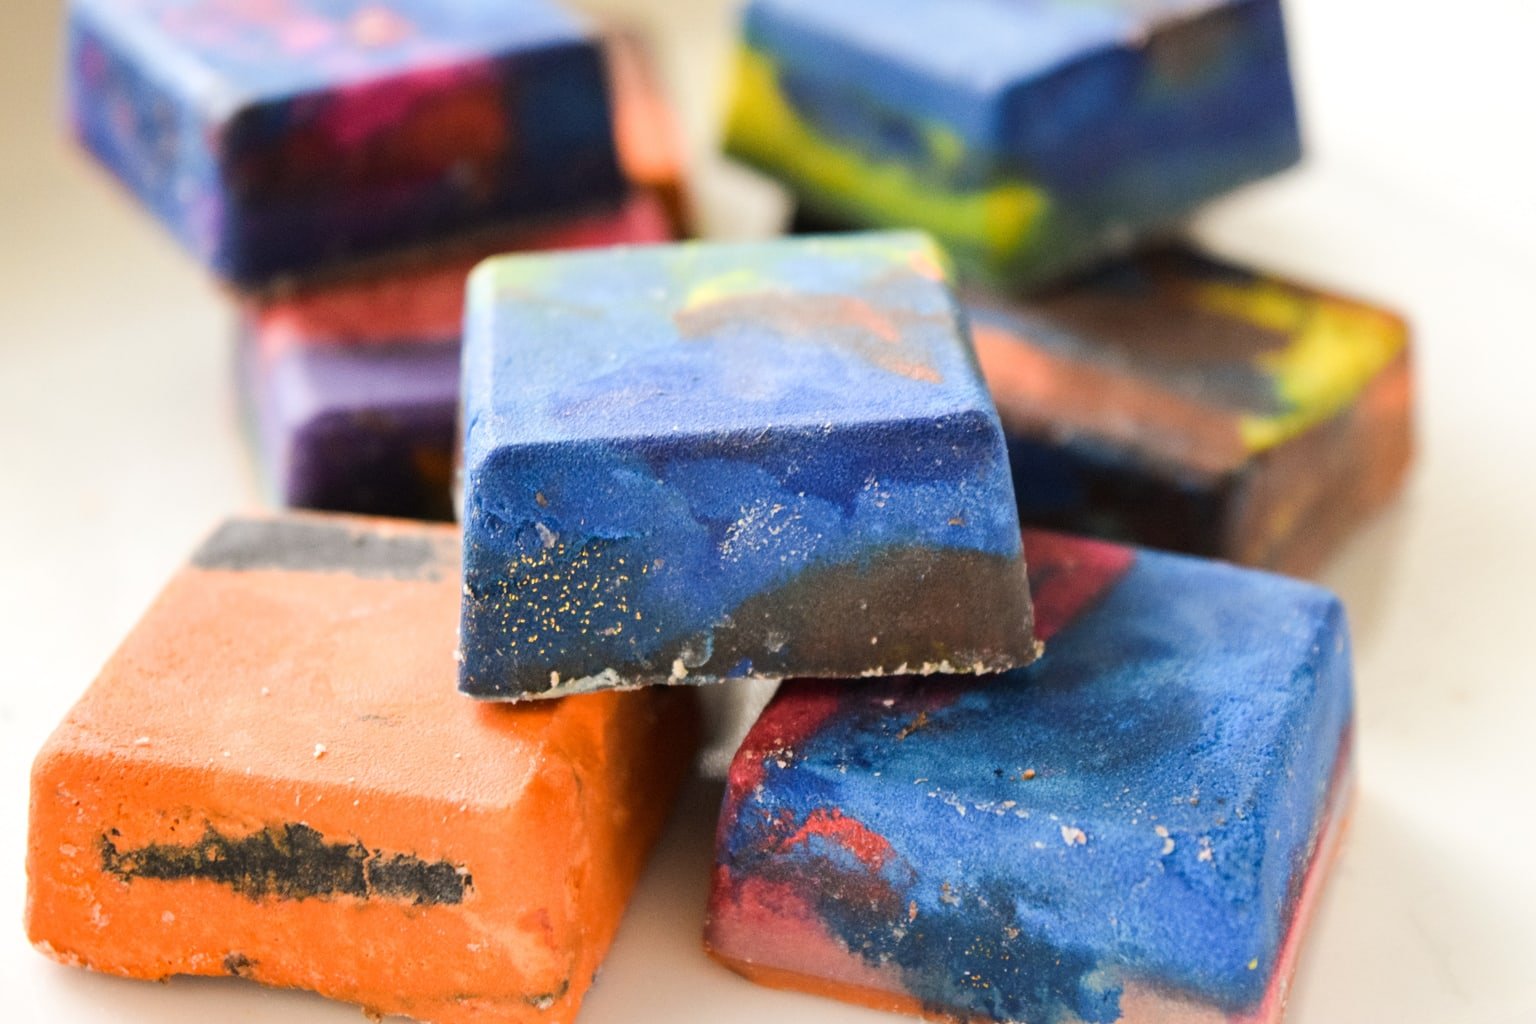
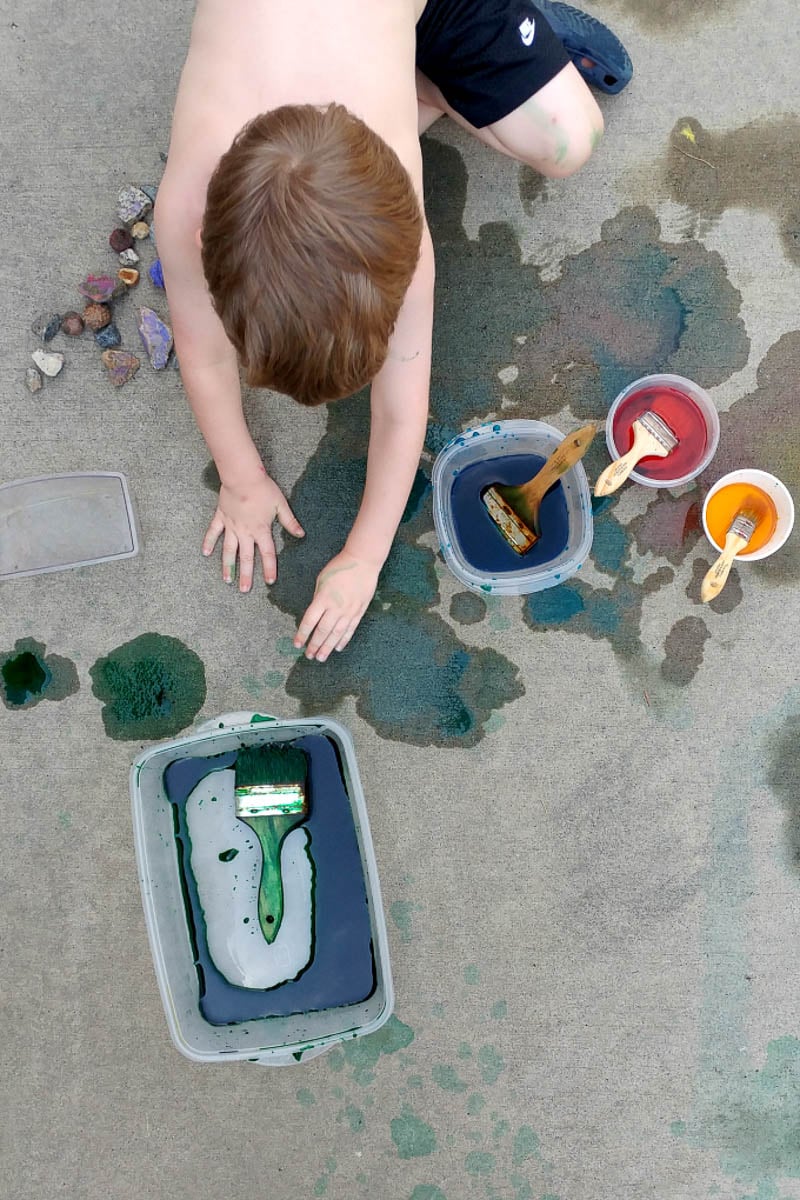
We got started coloring right away. It was so fun to see the different colors swirled together on paper!

Have you ever done that project where you:
- completely cover a sheet of paper in crayon coloring
- then paint over it with black paint
- then use a penny to scratch a design into the paint?
I always think those look so cool! I want to try that next, and these crayons would be perfect for it!
We absolutely loved making homemade crayons!
These would also be perfect to put in a little cellophane bag with a bow and give them as a small gift with a coloring book to even use them as a stocking stuffer (a Christmas tree mold would be PERFECT for this!)!
Want more direction?
It looks like Martha Stewart has made some heart-shaped crayons that look a lot like the ones we made! She used a tin baking mold, chopped her crayons into smaller pieces, and baked with her oven set a little lower at 150° degrees. You can see more of her instructions here.
Next time we try this…
The next time we make homemade crayons, I will probably follow Martha’s lead and try baking in metal. While I loved how easily our crayons popped out of these molds, lots and lots of discoloration was left behind in our heart-shaped mold. I’m not sure that baking in it was the best idea, but I sure do love the sweet-shaped crayons it produced!
I’m not usually one for making things from scratch, but this was the perfect opportunity for my kids to observe matter changing state.
It was also a cool lesson in upcycling!
Love doing creative art projects with your kids or grandkids?
We also enjoyed this Name Painting Activity:


Hi, can we use another type of oil? Is in spray but not coconut. Thanks
Hey Silvia! I would think any kind of spray would work! I hope you guys have fun with this project~