Restoring Vintage Doll Furniture
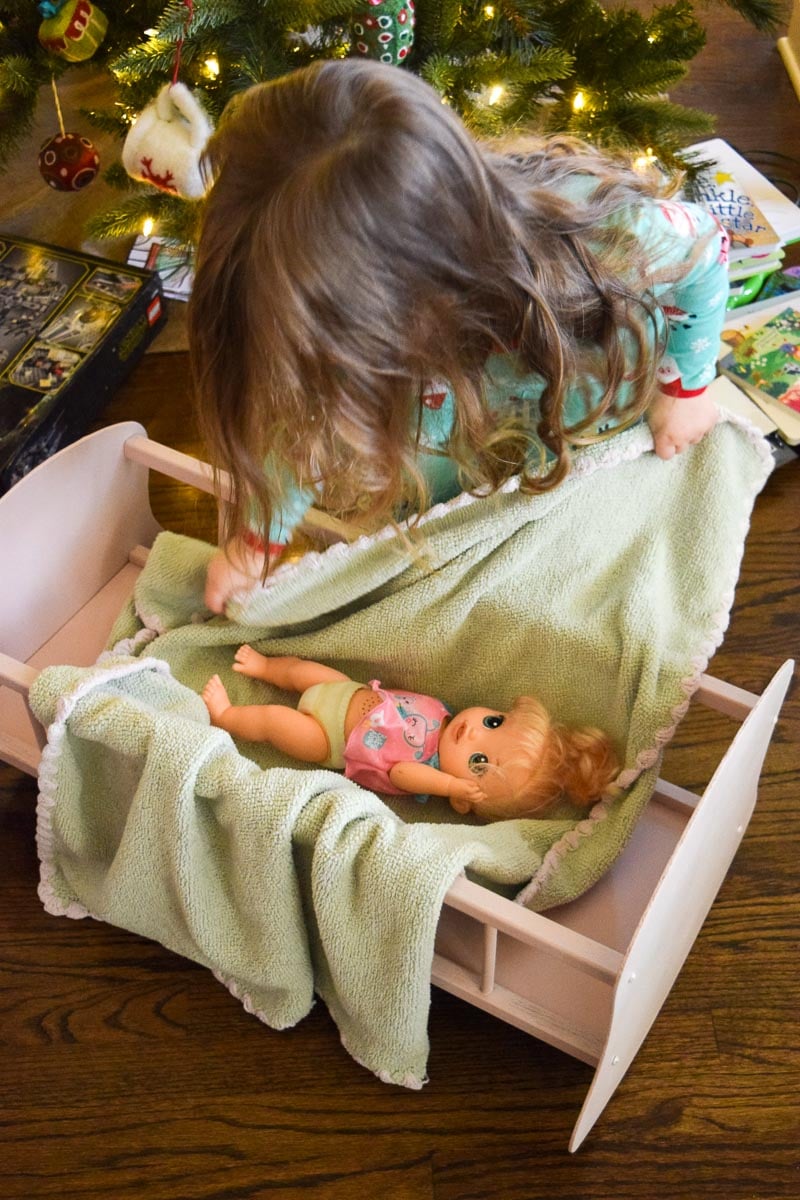
A couple of years ago, my mom and I tackled the task of restoring vintage doll furniture. It was an antique set that included a baby doll cradle and highchair. I knew my girls would enjoy using them for their baby dolls.

Bringing new life to these antique pieces was a labor of love. It was also a really sweet time of making memories with my mom.

Get our THIS LITTLE HOME OF MINE nEWSLETTER
Delivered directly to your inbox!
I have always loved doing projects with her, and this one was no different.
Gift Idea: Repurposed Items
Our family’s journey to more simple living has most definitely had us rethinking our gift giving.
Before purchasing new items for our kids, we have really tried to start pausing for a moment to think:
- Why am I purchasing this item?
- Is there an experience that would be a better option?
- Should I consider this idea for a different time?
- Is there something we already own that could be repurposed for them?
- Do Grandma and Grandpa have something in their attic that could be given new life?
This approach is definitely a shift from what we’ve always done, but thinking differently about gifts has resulted in some really neat experiences.
It has given us the opportunity to be more thoughtful and creative.
As I was thinking through these questions one year for my girls, I couldn’t help but think about the vintage cradle and highchair my mom had in her attic.

I really wanted my girls to have the opportunity to enjoy these pieces!
However, I didn’t love the paint color on them. In addition, the design did not at all coordinate with their sweet little pink bedroom.
In my mind, these antique pieces definitely needed some updating.
I wasn’t sure what exactly would be involved in restoring vintage doll furniture.
So I enlisted the help of my mom! I can always count on her.
This post is possible because she did the research to figure out exactly what we needed to do to restore these sweet little pieces of baby doll furniture.

Supplies for Updating Antique Doll Furniture
- Kilz Original Interior Primer Spray
- Sandpaper
- Rustoleum Chalked Matte Spray Paint
- Krylon Matte Finish Sealant Spray
I have linked these to availability we found on Amazon, but we purchased our supplies from Lowes.
If you shop our affiliate links, we do earn a portion of the sale. However, we always encourage you to shop where you can find the best deal on products for your family.
Other Tips Before You Begin Your Restoration Project
For our particular project, we chose to work outside with lots of space – and fresh air!
It was also helpful to have a couple of drop cloths and even an old shower curtain on hand. It was nice to allow those to catch the mess!
How to Restore Vintage Doll Furniture
STEP ONE: Disassemble
The first thing we did was carefully disassemble both the high chair and the cradle.
For your particular pieces, this may not be necessary. With the design of the furniture we were working with, we thought the finished product might turn out best if taken apart before painting.
Ours maybe would have been fine if painted while assembled, but we didn’t want our paint to look goopy in places. You make the call on your pieces!


STEP TWO: Sand
After we had taken the cradle and high chair apart, we began the process of lightly sanding each piece of furniture.
We worked carefully as we weren’t yet sure how much rough handling these antique pieces could withstand!
For us, this step went smoothly (Get it?).
We were glad we did not choose to use a powerful sander to do the job. That would not have gone well with our particular pieces.


STEP THREE: Prime
Next up, we evenly covered our furniture in the Kilz Original Interior Primer Spray, and then let it dry.


STEP FOUR: Paint
Now it was time to paint! We used Rustoleum Chalked Matte Spray Paint for the project.
Our color of choice? Blush Pink! Perfect for my little girls. Needing a different paint color besides pink? This product is available in other colors.
Chalk Paint is so easy to use and gives a look I love! Have you tried working with it?
My friend spray painted her nightstands with this brand of chalk paint, and they look fantastic!
This is not a sponsored post for Rustoleum.


STEP FIVE: Reassemble
After allowing our primed and painted pieces to dry for several hours, we reassembled them!
If I remember correctly, I actually think we left them to try overnight before putting everything back together.


STEP SIX: Finishing Spray
After everything was reassembled, we sprayed it with Krylon Matte Finish Sealant Spray. About any kind of matte finishing spray should do the job.
The trick is to make sure you’re not standing too close to your pieces when spraying. I always try to be careful with this as I don’t want it to go on goopy.
There’s that word again – I’m honestly not even sure if it’s a real word!
With a finishing spray, we read that if it goes on too thick, it can give a bit of a yellow appearance to the item you’re spraying. We definitely didn’t want that!
Any advice you could add to these steps? I am by no means an expert and would welcome any thoughts your tips you might want to share with us in the comments!
I have seen so many friends on-line tackle projects like this.
Maybe you have an old dollhouse you’d like to spruce up. Or what about one of those wooden kitchen sets from your childhood?
Or is there something else up in your attic? What kinds of things are in grandma and grandpa’s attic?

Is there a special piece that’s coming to your mind? Something you could refurbish or repurpose for the next generation?

I have truly fallen in love with the idea of pausing to consider this, especially during times of the year when I’m thinking through special gift ideas for the people I love.


This was such a special project. I love how it came together!

It makes me feel excited about future gift ideas.
It has me wondering what meaningful items might be sitting right under my nose – needing only a little time and chalk paint.

This antique highchair has a removable tray on it – I love that detail! When the girls were first gifted these pieces, I kept the tray safely tucked away in their closet.
I was afraid someone would get their fingers smashed, but we have since graduated to the tray, and it’s the sweetest.
They love feeding their babies in this chair!


If you liked seeing a peek into our project of restoring vintage doll furniture, you might enjoy checking out some of our other DIY projects.
If you’ve spent much time around here, you know we like to keep things simple!
More Do-it-Yourself Ideas
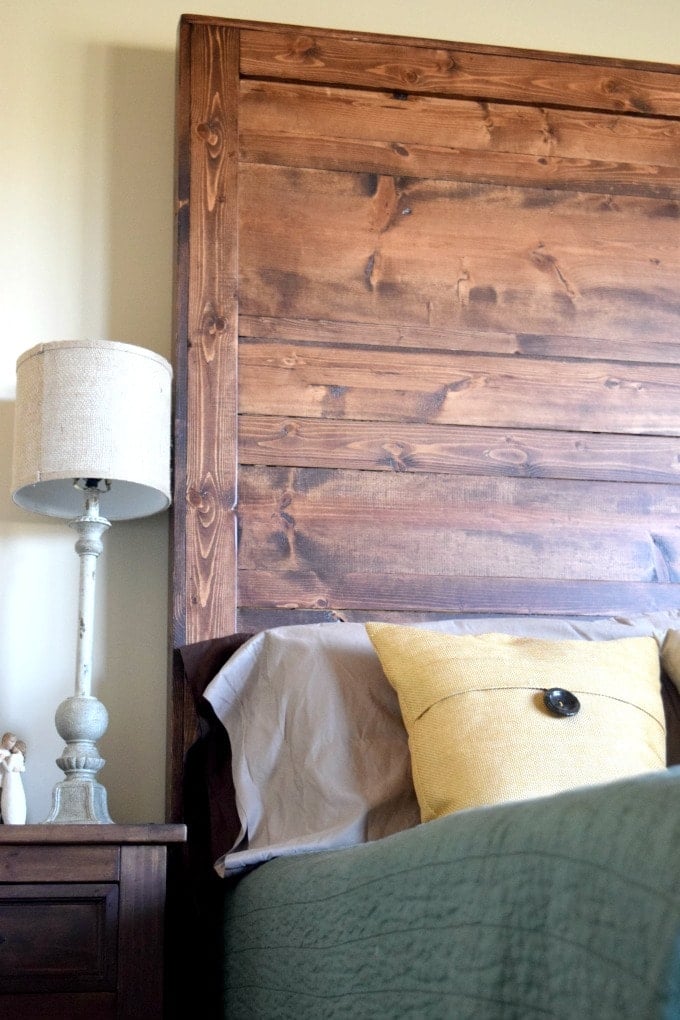
- How to Create Your Own Rustic Headboard
- Create the Farmhouse Table of Your Dreams
- Little Red Window Shutter for Storing Books
- DIY Playroom Magnet Board


Thank you for sharing this adorable project. I bought a used babydoll cradle at an estate sale. Daycare closing. It’s missing the bottom. Any ideas for that. I will be using your method for painting it once i figure out the bottom. Thank you!
This just makes my day! I hope this is a special project for you – Excited to hear if anyone else here has a recommendation for the missing bottom on your cradle! I’d love to see how this turns out!